
Many people have complaints of pain going up or down stairs. It is a frequent complaint with knee injuries or arthritis, but may also create pain in the hip, back or ankle. This month I wanted to talk about how you can improve your technique to go up and down stairs correctly to not increase pain. If balance is your fear, use a handrail, but practice with one or two short steps or with a book in a doorway.
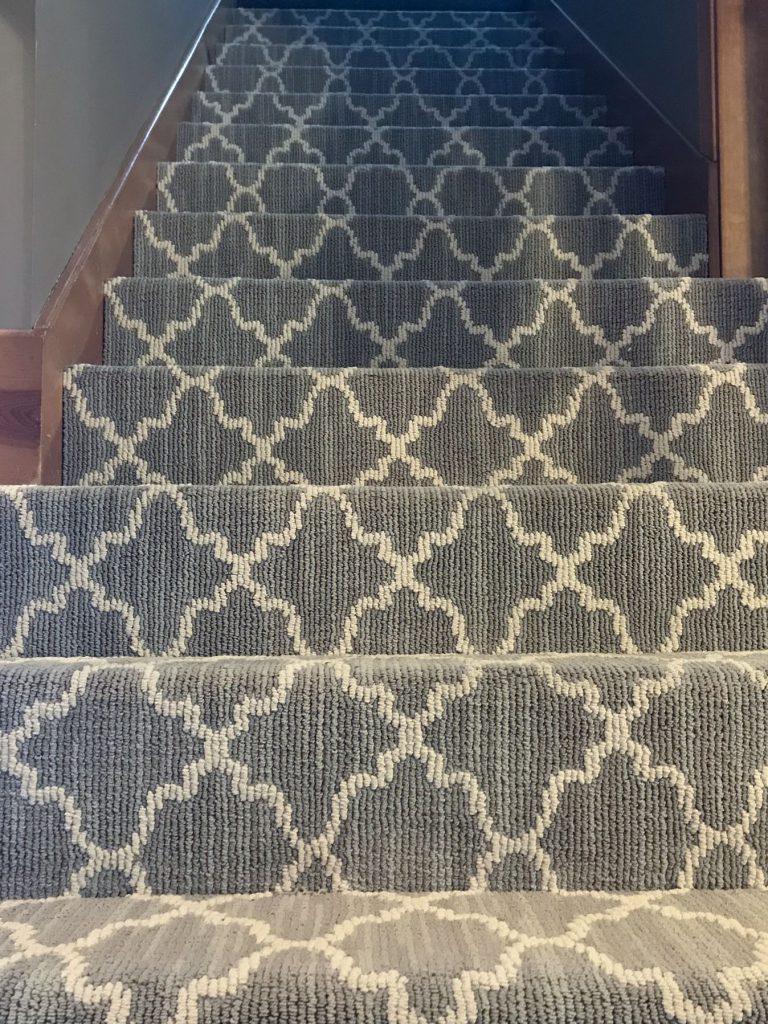
Stairs create increased load on the knee joint. Going down is the most load on the kneecap. Walking downstairs can put up to 346% of your body weight through your kneecap in comparison to walking upstairs. Ascending stairs puts 316% of your body weight through the kneecap and normal walking puts only 261%. To put this into perspective, a person weighing 150 pounds is placing over 500 pounds of force through the kneecap while descending stairs.
With patellar chondromalacia or arthritis, it often causes pain over the entire knee and even more to the inside. This is because the ITBand (iliotibial band) on the outside of your thigh and knee is pulling the kneecap to the outside and increasing the grind. Using your core, quadriceps, gluteal and hamstring muscles will help counter this pull and decrease the pain. Cartilage (meniscal) tears can often be aggravated by going up or down or from not keeping your knee aligned under your hip and over the middle of the foot.
So, let’s see if we can improve your technique.
Going Up
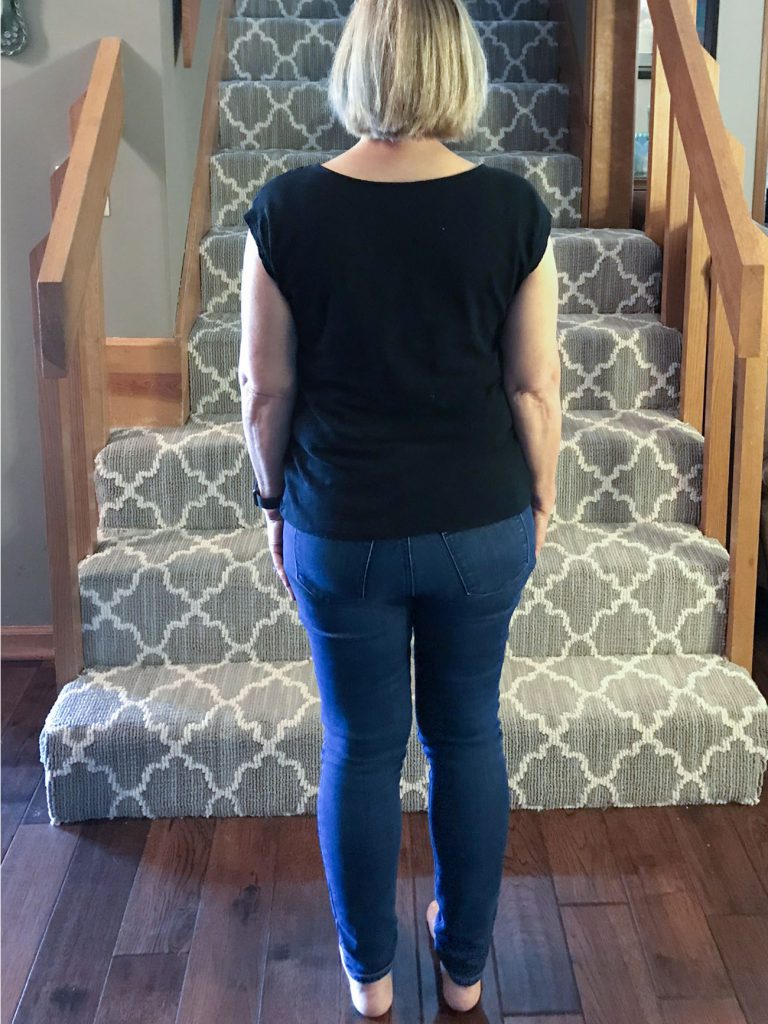
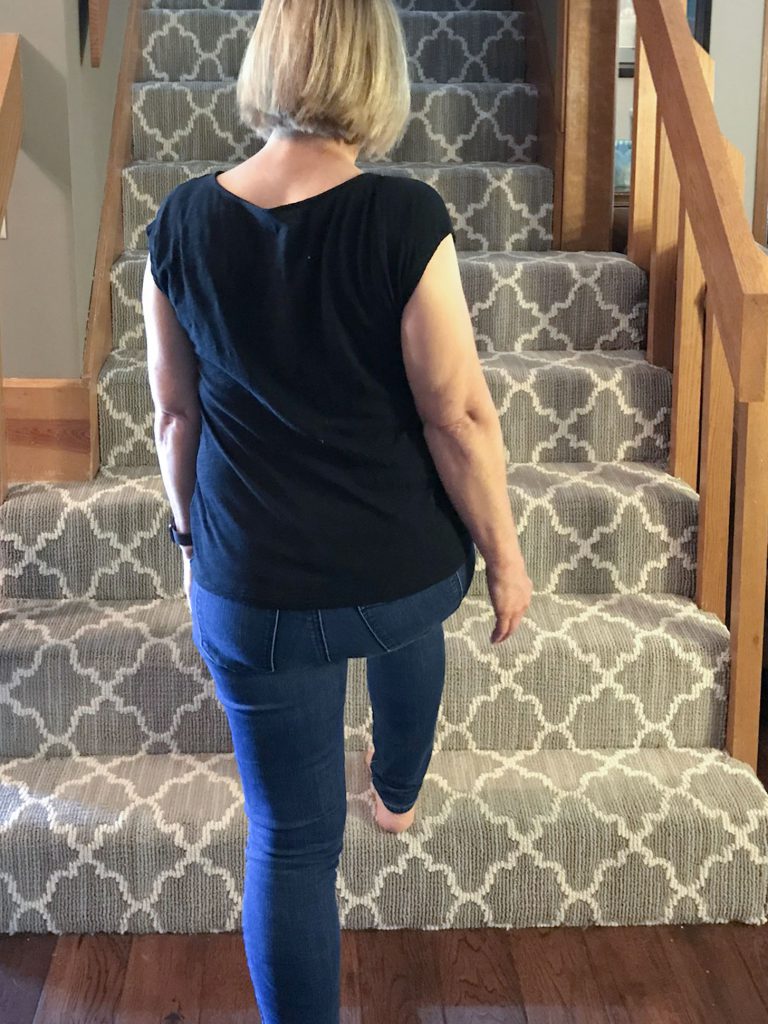
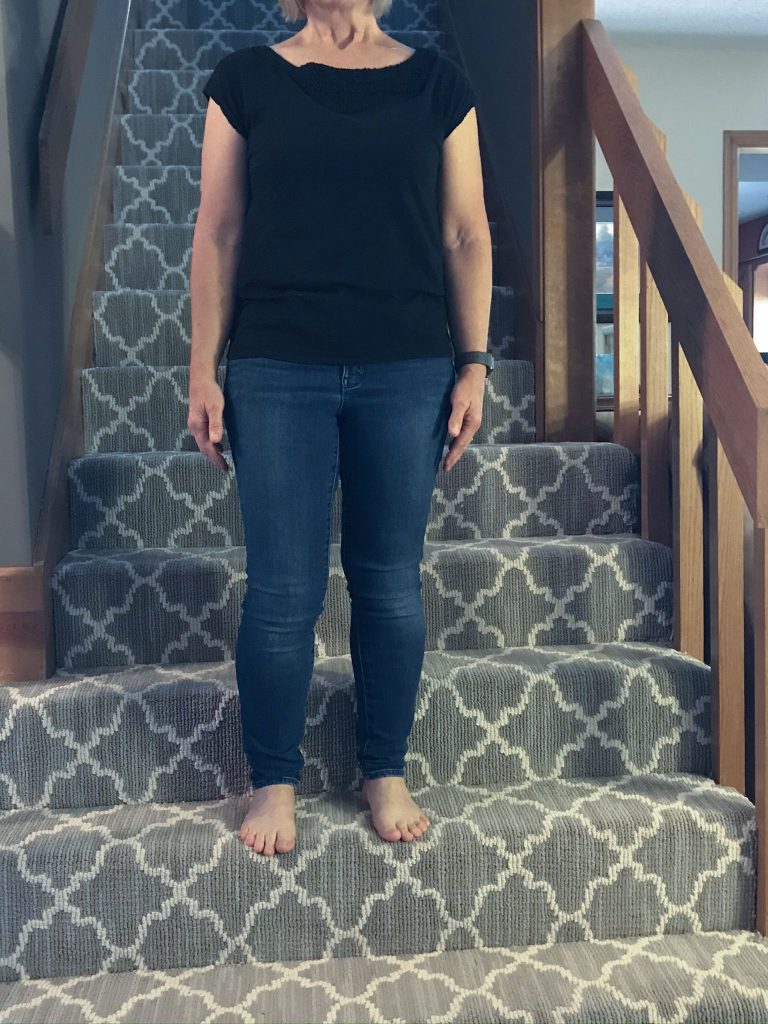
- Face the step with your pelvis parallel to the steps and feet pointing straight ahead. Think of keeping your tailbone pointing straight down toward your feet, while lifting your chest and moving your ribs away from your waist. This will help you facilitate the core muscles.
- Lift the heel of the right foot you are going to place on the step and let your weight shift slightly to the left leg. This should only be a slight shift, not moving your hip past the outside of your standing foot. You should feel the pelvis on the right drop slightly.
- Place your entire right foot on the step. Keep your foot pointing straight ahead and not turned outside your knee. Keep the knee over the middle of the foot (2nd-3rd toe).
- Now with your foot on the step, push your right hip back shifting your weight more onto your heel. This will turn on your gluteals and hamstrings.
- Let your shoulders turn slightly toward the right knee on the step. This will activate your obliques.
- Now press down through the entire foot, not letting it collapse propelling your body upward and forward with your quads as you bring your hips under you, lifting the left leg onto the next step. You do not want to feel your knee snap back.
- Now you are ready for the next step with your left leg! Think shift, push back, rotate, lift. Try to make this flow as you move to the next step.
shift 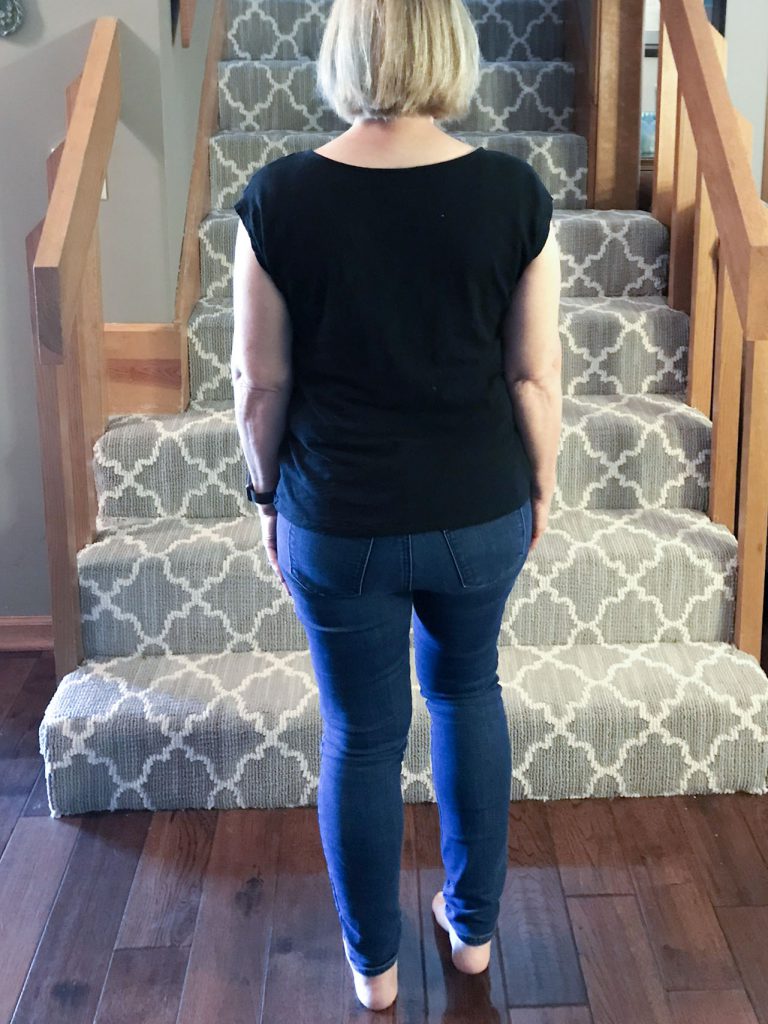
lift heel
rotate, lift, push hip back 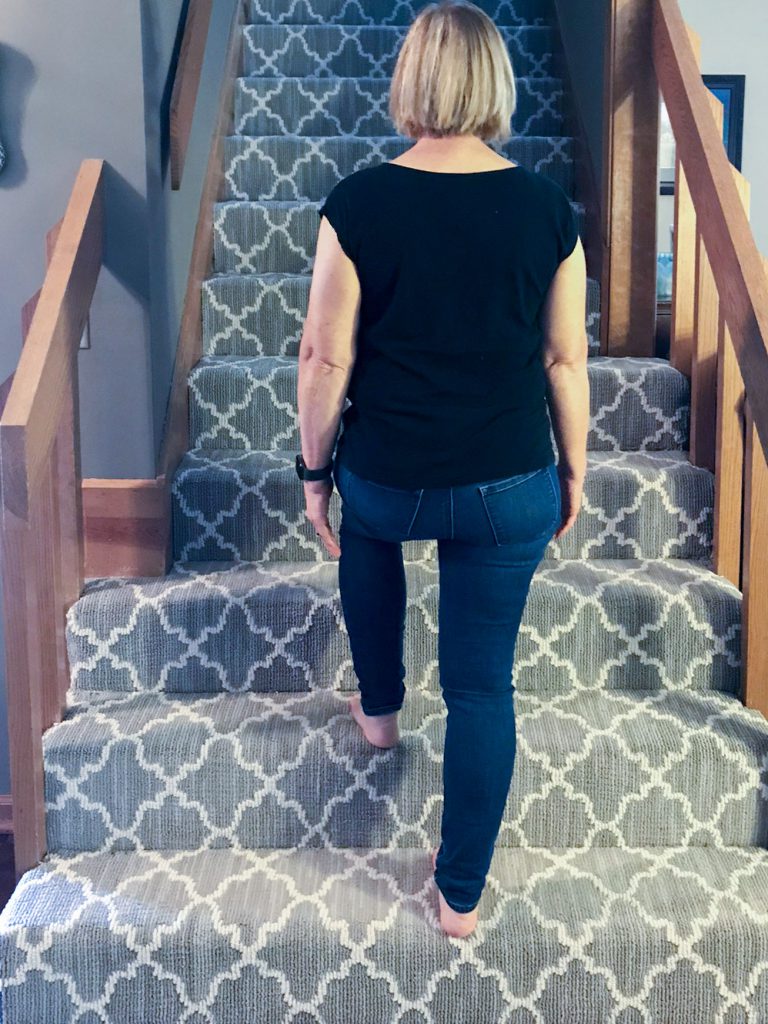
buttocks under hip to rise
Going Down
- Again, face the step with your pelvis parallel to the steps and feet pointing straight ahead. Think of keeping your tailbone pointing straight down toward your feet, while lifting your chest and moving your ribs away from your waist. This will help you facilitate the core muscles.
- Let your right knee bend, pushing the right hip back.
- The shoulder will automatically turn slightly to the right.
- Your weight is now on the left leg and you can lower your right foot to the step controlling the descent with your left buttocks and hamstrings. You will land with weight first on the toes, then on the heel.
- Your right knee should be over the middle of the foot and the foot pointing straight ahead. Do not let the foot collapse.
- Continue onward to the left leg. Shift, push back, rotate, lower.
- The faster you go the easier it is, but only go as fast as you can control the motion without pain.
shift 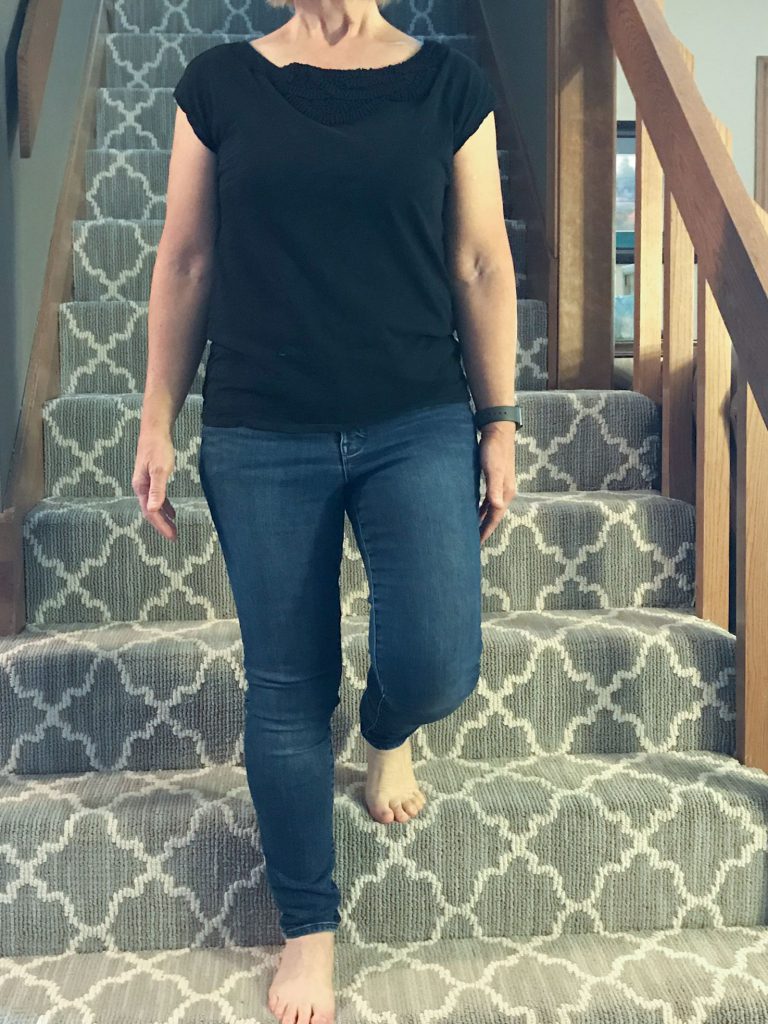
push back, rotate 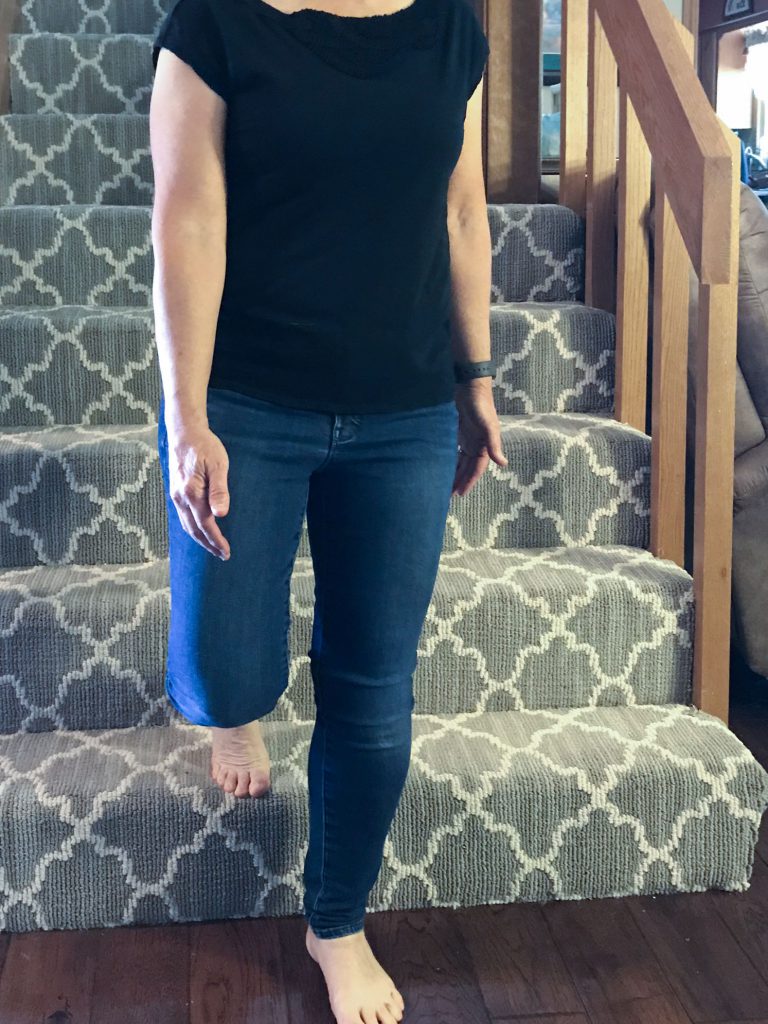
step down
Make sure you are looking straight ahead and not down at your feet. Keep your chest lifted and core working, tailbone pointing down. Once you feel like you understand the hip shift and lowering, pay attention to your shoulder blades. You will feel your shoulder blade on the leg that is going up or down pull down and in and the opposite shoulder blade move up and out.
If you need to start with one step at a time remember this adage: the good go up, the bad go down. So, going up the good or stronger side would lead first, followed by the bad or weaker leg. Going down the bad or wearer leg leads. Try to not pull yourself up the stairs when using a rail but make your muscles work and keep using the core. Also, it is not advantageous from a biomechanical approach to take the stairs turned partially sideways.
This may sound like a lot of work, but it becomes natural with practice. I find breaking down a task can make it easier and I like to think there is always a “trick” to success.
If you need more help or are having difficulty with an exercise, please schedule a visit or we can arrange a telehealth conference. This has proved successful helping a few clients ease the pain when coming out of quarantine is not in their best interest. Have a great month. Stay safe and well.
1. Kutznera I, Heinleina, B, Graichena F. Loading of the knee joint during activities of daily living measured in vivo in five subjects. Journal of Biomechanics. 2010 Aug;43(11):2164–2173
Judy